
Microsoft Word has a tendency to compress pictures down to as little as 96 dots per inch (DPI), even when the box is checked telling Word not to do this. That’s great when there is a priority on saving memory, but not desirable when printing for quality.
The first step is to disable automatic picture compression, while realizing that this step – all by itself – is not sufficient. In Word 2010, for example, click the File tab, scroll down below Help to find Options (at first hidden toward the bottom of the list), select Advanced, scroll down to Image Size and Quality, and check the box that says, “Do not compress images in file.” Do this before inserting any images into the file.
Don’t copy and paste pictures into the Word document. Instead, click Insert and then Picture.
Don’t resize or otherwise manipulate the pictures in Word. Instead, edit the images with photo-editing software that doesn’t compress them prior to inserting them into the Word document.
Don’t use Save As to convert the Word document to PDF. Instead, print the file to PDF using a Word-to-PDF converter. For self-publishing, find a PDF converter that allows fonts to be embedded in the file and transparency to be flattened.
Also, check the DPI of the pictures at the source – i.e. the software (e.g. PhotoShop) or device (e.g. camera or scanner) that created the pictures. Using 300 DPI or more produces sufficient print quality images for most applications.
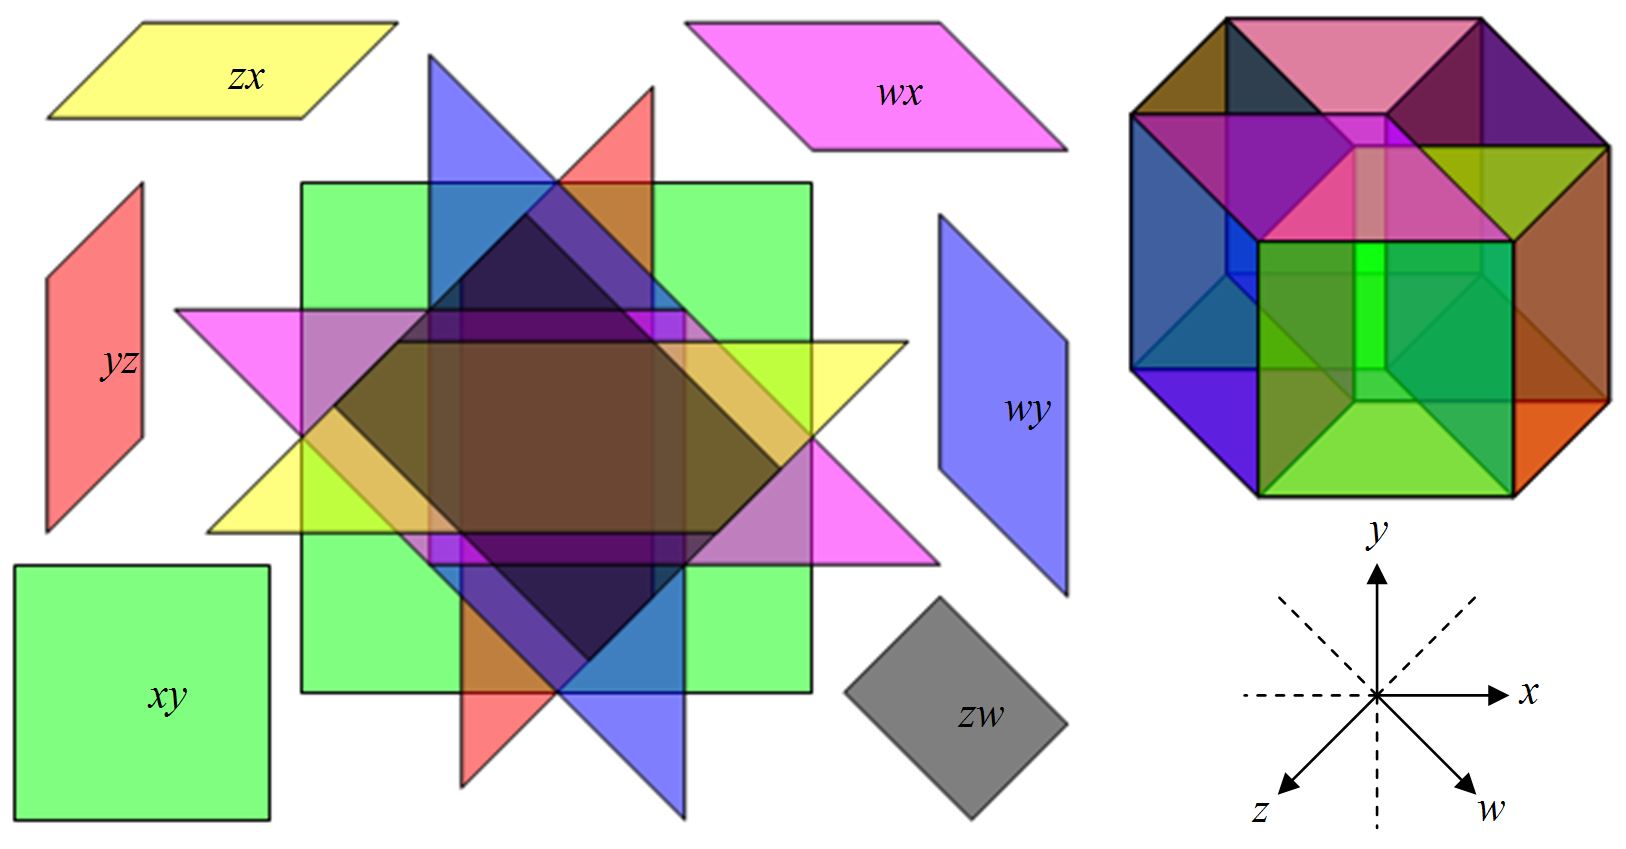
As long as we’re talking about pictures, I may as well include one with a tesseract and a half-dozen planes intersecting in four-dimensional space. If anything else, it may help to make Word’s picture compression seem somewhat less complicated. 🙂
Authors of eBooks have the opposite problem. With eBooks, what counts is the number of pixels along the width and height. In this case, there is a premium on compressing the images in order to minimize the file size of the eBook. To compress the pictures in Word 2010, right-click a picture, go to the Format tab (that appears when a picture is selected), click Compress Pictures, choose 96 DPI (KDP’s recommendation for most eBooks), and uncheck the box that says, “Only to this picture.”
For eBooks, after inserting an image into Word, right-click the image, choose Size and Position, go to the Size tab (in the pop-up window), and set both the width and height to 100% scaling (Word automatically scales images down to a lower percentage when they would otherwise exceed the margin width).
May your pictures come out picture-perfect! 🙂
Copyright (c) Chris McMullen, Author of the Improve Your Math Fluency series of workbooks and self-publishing guides
